
 Contouring to me is the anti-ageing answer to any makeup. With the use of highlight and shade, anyone can re-define and get a better bone structure.
Contouring, or the use of highlight and shade together to create a contrast is something that has been around for years in stage and screen.
Growing up as a dancer, my first lessons in makeup where that of contouring as we needed to bring features out on stage when performing, often looking harsh up close, but with such strong lighting, it worked beautifully for the audience watching. In general makeup application, highlight and shade was always around and taught, but nothing like it is today.
As society grows more hungry in the search for an anti-ageing yet simple makeup look, trends started seeing more neutral tones under the cheekbone and in the eye socket, which in fact define and lift these areas.
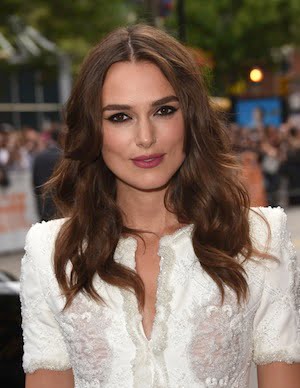
The level of detail that you can go too with contouring can honestly change someone’s entire facial structure, as long as you have the lighting to support it, which is why so many celebs look different without makeup – the real them is often not as tight and lifted as a photo could make you believe.
The Art of Contouring:
How it works:
Contouring uses both highlight and shade which contrasts from each other to then change/lift the face to give more defined facial structure.
![]()
How-To:
Highlight
The use of lighter shades than your skin tone to bring an area forward…
Usually applied on the frontal bones – Cheekbone, brow bone, in between brows on forehead, chin, lip cupids bow and even in the centre of the nose.
Shade
The use of deeper shades than your skin tone to recede and create a hollow, think of it as cutting unwanted skin away to sharpen an area.
Usually applied under cheekbone, under jawline, temple and hairline, eye sockets.
Result:
Bone structure defined and lifted, putting your best face forward.
Products:
- 2 x shades of foundation can be used
- 2 x shades of concealer can be used
- Bronzer for shade works a treat
- Powder highlighter can be used
- Liquid highlighter/illuminator can be used
What works best?
This really depends on the level of change you are after and the time frame you have to apply makeup in.
For a photo shoot and a lot of makeup artist work, like the pictures of Kim Kardashian, you can apply highlight and shade in a cream variety, underneath the foundation and blend it out, with foundation over the top.
This will give shape to the face for better use with stronger lighting, then you can apply extra contouring products, like bronzer, over foundation to get more effect.
Better Bone Structure in 5 Steps:
- For me personally, I love to prep the skin with moisturizer, and then apply an illuminating/light reflecting primer on the frontal bone areas, as listed above, so before you apply foundation, your skin has light and a glow in the correct areas…
- Then apply your foundation/BB Cream as normal, plus correct the under eye area with a yellow tone concealer for no dark shadows.
- Then using a light shade concealer/highlighter, apply lightly over the frontal bone areas and under the eyes to brighten
- Now, add your bronzer under the cheekbones to create a hollow and he same for the eye socket area.
- Continue makeup as normal.
A few extra steps can really bring out a new level of bone structure and you are the one in control of the intensity applied – the more you apply the more result you gain, but most of us do not have spotlights following us around to make contouring look natural, so be careful you do not go overboard…
MB PRO TIP; Always take a picture with a flash if trialing out a new makeup look, even celebs get it wrong sometimes… FAIL! Lighting plays a big part when it cones to highlight and shade.
Quick Tips for Eyes and Cheeks
Eyes
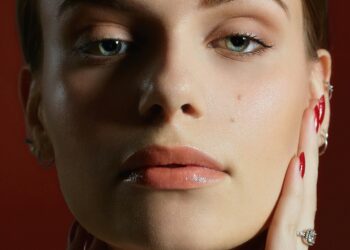
- The eye socket is an area that shows age quickly…
- The skin can get weak and droop or create a skin fold when the eye is open, or it can become puffy.
- Think of adding shade to the eye socket as a corrector, the depth of bronzer or deep matte eye shadows push back any unwanted excess skin and tighten the area, better than surgery!
- The darker and more matte you go with shade, the more results you will get with pushing back and lifting the eye socket area
- You don’t have to wear dark eye shadows to make it work, as long as the shade is deeper than our skin tone, like a bronzer, you will still get a result.
- Try to apply shade to the eye right in the socket line when eyes are closed, but, always open your eye and see where the skin sits naturally…
- It is best to re-apply shade when the eyes are open on the concern area – where the skin/puffiness is sitting.
- There is no point opening the eye and the shading you have applied is now gone as the skin sits differently with your eyes open…
- Apply higher and you will then recede the concern area away, giving you the lifted results you are after.
- Don’t be afraid to bring the shade tone to the inner socket area as puffiness can occur there also… As long as you highlight the inner tear duct of the eye, you wont appear ‘dark’ under the eyes.

Cheek Bone
- This is the most common area to add contour as it can lift the entire face…
- Perfect for a rounder/wider face to slim down and/or someone who feels they generally need a lift!
- Always start your shading (I like using a bronzer) from the outer hairline, under cheekbone, sweeping down towards the nose…
- Going opposite direction could put too much dark tone at the front of the face and make you look muddy, keep that area for blush to brighten after you contour
- Aim of the game is to shade precisely under he cheekbone, to create more of a hollow, so that it appears the cheekbone is higher and lifted…
- This is what I call ‘The Support Bra for the cheekbones’ – it really does lift, just like a bra.
- Contouring the cheekbone area works best when a highlight of some sort is then applied above, actually on the cheekbone – the two colours contrast creating the best possible, defined bone structure effect.

The use of shading away the areas we don’t want to see, then highlighting the points we do want to see can make all the difference, for all of us!


