
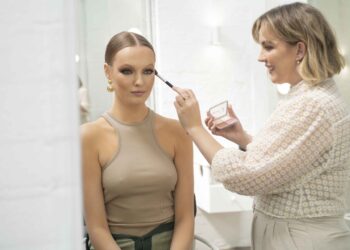
 We all want what we don’t have, but sometimes our concerns are easily improved with simple make techniques. One area that can change in shape as we age is our lips, often shrinking or becoming heavily lined around the edges – how lovely!
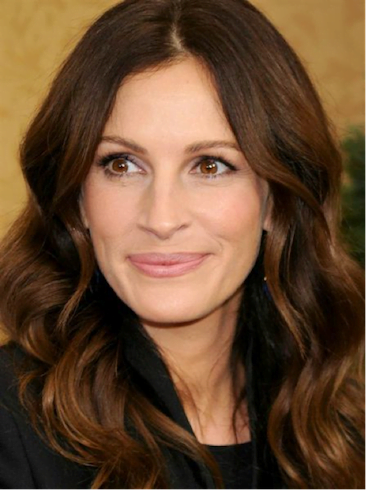
Even if you have youth on your side, a lot of lips are uneven in size, with top lips looking smaller than the bottom…
The good news is, there are some easy and effective techniques that can give your pout the plump it deserves!
Contouring is a word most of us by now will know when it comes to ‘on-trend’ makeup techniques – the use of ‘Highlight’ and ‘Shade’, a hugely popular anti-ageing application to lift and re-structure the face, mainly used on the cheekbone and eye socket area.
Just to re-cap;
Highlight the frontal bones to bring forward and add light
– Above Cheekbone
– Brow Bone
– Centre T Zone
– Chin
– Cupids Bow
Shade in the hollows of the face to give shape and lift
– Under Cheekbone
– Under Jawline
– Eye Socket
– Temples
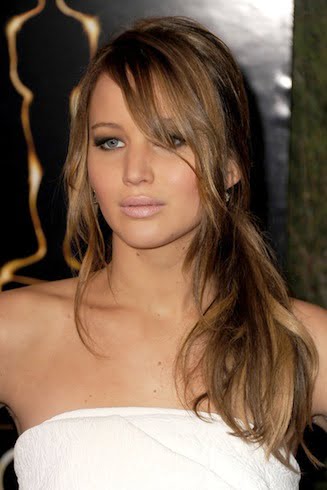
Lips can also benefit from Highlight and Shade in so many ways and choosing the correct lipstick shade is vital for success…
MB PRO TIP: The brighter or more glossy the lip colour, the more plump your lips will be. If you use darker tones, especially when matte, the smaller your lips will look.
Knowing your shade
Skin tone plays a big role to what lip shade you should be wearing and even though with makeup it really is a personal choice, it’s always good to have a guide to follow.
Yes, you can alter and change your skin tone with foundation to be able to wear any lipstick, but you still don’t want to look like you have a different skin tone to what the rest of the body is showing, just to wear a certain lip colour, keeping the skin natural is always the best way to be.
For Olive/Yellow Base skin
Cool and blue undertone lipsticks look great as a contrast to your already warm skin tone. Yes, you can keep the warm theme and bronze up your lip, but sometimes an orange lip on a yellow base skin for example can look flat and sickly. Try bold tones like blue base reds or fuchsia, plums and nude tones in beige pinks, think winter inspired shades.
For Fair/Pink Base skin
Warm and yellow undertone lipstick shades go well as a contrast when fair skins are showing a lot of natural pink tones…
Fair skin usually needs warming up, so a summer tone lip is the best way to do this…
Yes, you can apply a heavier foundation to then be able to wear more cool or pink tone lipsticks, but then you run the risk of looking overly made up. Think orange, coral, orange base reds, neutral shades like caramel and if your skin is quite pink, choose taupe nudes to neutralize the concern.
Adding pink lips to an already pink base skin can really show more pink, something most would not want.
Highlighting the top outer edge of your lip, using two tones to create volume and the use of brighter shades can all improve your pout, here are the tips to getting it right!
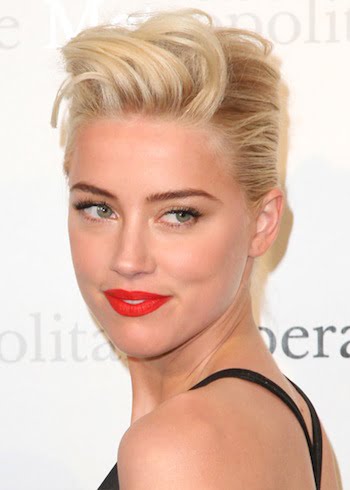
Highlight the Cupids Bow
One tip I love for the lip is to highlight the Cupid’s bow… It works so well to define the top outer edge, which will then lift and bring forward the area, giving focus-using light.
You can use a light concealer and even use your fingertip to gently dab on the cupids bow, or a thin brush to actually trace around the outer edge of your lip.
Using a light reflecting/metallic highlighter is best for ultimate pout results.

Gloss
Although glossy lips are not as much of trend as they once were, adding gloss to the centre of the mouth can add a shiner that reflects light to also give a fuller looking mouth.
MB PRO TIP: Only add gloss to the centre of the mouth when applying over lipstick, otherwise it can bleed to the edges – not good! It really is the centre of the mouth you want to bring forward and promote, so save your gloss for this area only.
Two Toned Lips
Playing with colour is a great way to give yourself that extra pout.
A lot of women mix two shades of lipstick together to gain their favourite shade or to either lift, or tone down the other shade, this can work in your favour when applied correctly.
If you have two lipsticks you love to mix together, see which one is the deeper out of the two…
Apply the deeper shade first to your lip as a base, all over, but not as detailed in the centre of the lip.
Then, place the lighter shade over the top, more in the centre part of your mouth and that will (depending on the shade difference) really promote more pout, as light will catch on the lighter centre and reflect – works a treat!
The more contrast between the two shades, the more effect you will see, but of course, in real life we do want the two shades to at least blend so it doesn’t look like a dab of colour, stuck to the centre of your lip, looking like a mistake – fingertip is best to apply this technique.

Lip Liner
I generally now in my makeup artist life don’t use a lot of lip liner, I find they can look obvious and sharpen the lips too much, making them look smaller…
MB PRO TIP: My fave way to use lip liner is to apply lipstick with my fingertip – this bonds product to lip perfectly, plus the roundness of my fingertip tends to not undercut the lip shape/edge, like a lip liner can, instead it puffs it up, giving a lovely rounded edge.
Once colour is applied, I then sometimes use a lip liner in a very similar shade to define the edges, great for he use of bold lip shades that need a little extra love around the lip edge.
By applying lip liner after lipstick application, you are not ‘seeing’ the lip liner as much, easier to apply as you have a stencil of colour to guide you and at the end of the day you want lipstick to be left showing, not lip liner!
So ladies, use gloss or a lighter shade of lipstick, even highlighter in the centre of the mouth, less lip liner and brighter shades to catch the light…
If you are really creative mix two shades together for a contour effect, it’s all about the contrast and attracting light to make things look larger!
Happy POUTing!
Images: how to get fuller lips sourced from zimbio.com


