Here’s hoping this Australia Day is just like any other — bit of beach, BBQ and a good catch up with great friends under the Aussie sun!
This doesn’t mean we need to have a non-existent beauty look; BBQ chic can be a reality with bronzed sun-kissed skin and SPF being my main priorities.
Some of you may want to go down the patriotic road… if this is you, my advice is to keep it to a minimum.
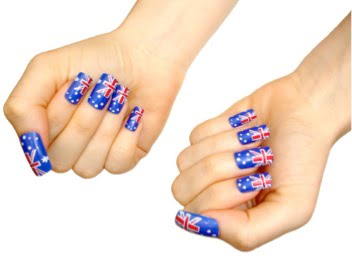
A simple Aussie Flag tattoo on your upper arm is perfect, or even better Nail Art!
These days stick on Nail Art is as easy as sticking it on to the shape of your nail, then peeling it off the next day after your big event or theme party,
My idea of Australia Day beauty is everything un-structured, fresh, dewy and relaxed, it is the Aussie Spirit after all – keep it real! After all, sea Salt spray hair and a little beach goddess never hurt anyone…
It only takes a few products to create a natural, yet beautiful summer glow and for me it is all in the glow, it is the perfect time of year to mix textures together and think about multi-use products that you can use on more than one area of the face.
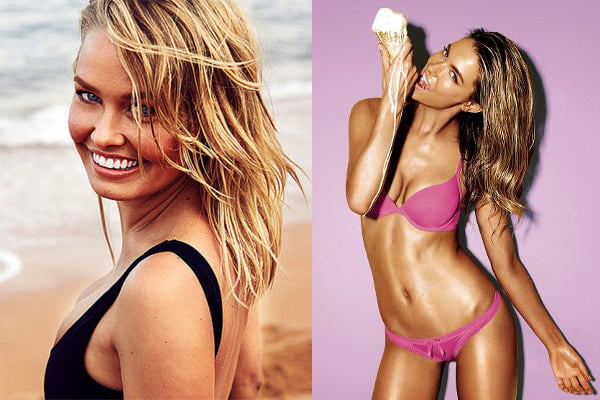
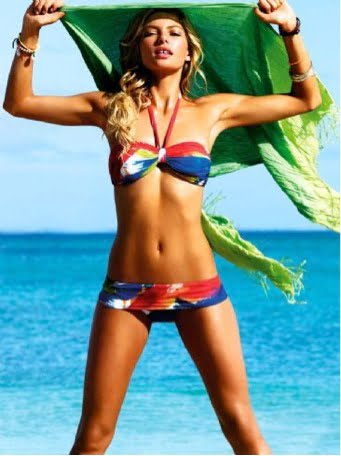
There are plenty of Aussie beach babes to get inspired by —from Lara Bingle’s relaxed yet sexy beauty to Jennifer Hawkins showing a typical summer scene of melting ice cream and super bronzed glowing skin with beach hair…
Well, we can all dream to look that good with melting ice-ceam in the sun can’t we?
These beach babes all look chic, but fresh and summery, not to mention bronzed — it’s a very Aussie Summer look…
And all it takes as little as 5 key products to create an Australia Day, summer beach makeup look, the trick is in getting the right textures and layering each product to create more than one effect to get more out of each product.
Here is my ultimate summer makeup tutorial with easy-to-follow, step-by-step tips to create the ultimate BBQ/Beach Beauty…
1. Even Skin
Use a BB cream, (Beauty Balm) one with a good SPF level for protection from the sun – the best anti-ageing secret is sun protection!
BB Creams – a light, skincare property, brightening and fresh product – can be applied with fingertips as they are like a fluid moisturizer texture, but I still use a foundation brush for a streak free finish.
You can also add a little more coverage on problem areas, by using a dabbing application – this is great for the cheeks, chin and nose, the areas with most concern.
MB Pro Tip – You don’t have to cover your entire face, only where concerns live for a real, fresh skin approach.
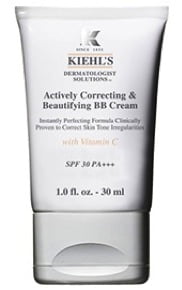
My choice is Kiehl’s Actively Correcting & Beautifying BB Cream SPF30 (RRP $36)
 2. Highlight
I don’t think I have applied makeup on someone with out a little highlight pen in, forever!
Adding light to the face takes 1min and can really give that light, fresh skin you have always wanted. Apply a small amount of a shade 1 to 2 shades lighter than your skin tone on all your high points – cheekbone, chin, centre of nose, cupids bow, tear duct of inner eye area and peak of brow…
Once blended, this will add brightness to your overall skin and already bring forward your bone structure for better shape.
Use under eye area, once dark circles have been concealed and you are ready to rock your summer, natural, fresh skin!
MB Pro Tip – You can use an illuminating highlighter, but don’t go to shimmery if you want the look to last longer, they can start to look too shiny after long wear.
My Choice is the Australian brand, Skin 02 Highlighter Pen (RRP $35)
3. Contour
Now that the skin is looking so good, it’s time to add depth, which creates shape and structure.
A good bronzer really is a girl’s best friend; it can do so much and make you look so good… I can hear the wedding bells already! Apply your bronzer, lightly over the entire face for a healthy skin glow – start center first (where sun naturally hits the face first) then sweep outwards, leaving jaw and hair lines free of build up.
Now use a little extra under the cheekbone for the perfect lift and contour – I start from side burn area, applying downward and then up at the ends towards the nose, like a Nike Symbol.
It is important to apply from back of face to front, otherwise if other direction, the front of your face, being apple of the cheek, can get too much product and look muddy.
Now, you know I love double duty beauty, so why not use your bronzer as eye shadow? It works perfectly for a summer glow and for lift and shaping the eye socket – I told you it does everything.
Just apply the same bronzer as a wash across the eyelid; you already have light created earlier from the Highlighter pen in the inner corner of the eye and the brow bone.
If your eye needs more lift or has a little puffiness/skin folds in the socket, keep your eye open naturally to visibly see these concerns and apply the bronzer over the area…
This will recede away the look and lift the socket area.
MB Pro Tip – Shade choice will make or break your look.
For pale, pink base skin, buy a shade that is dull looking, so it tones down any redness in your skin and for Olive to yellow base skin, buy a shade that is brighter to bring life to what could be, an already dull skin tone.
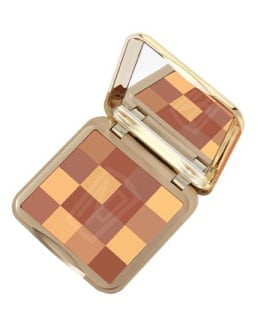
My Choice is the Napoleon Perdis Mosaic Bronzing Powder (RRP $60) I love the choice of shades all blended together, this creates a softer bronze rather than a blob of orange on your face!
3. Define
Next step is to define the eyes and what better way than with a great, big volume style Mascara!
There are so many out there, but in summer you want quick and easy, one that gives you results instantly and that is water resistant. I would only purchase a waterproof mascara if you are wearing it under water, otherwise they are too thick and can flake off once dry.
I am not a fan of the zig-zag application, except if you have very short lashes as it can allow for slightly more product on the lashes. If your lashes are long and you zig-zag, you are swaying them side to side and they can join, then clump – no thanks!
I like to slowly comb through the lashes, having you blink onto the wand and twisting your wrist at the same time, allowing for the wand to twist/comb through the lash, always gives the best effect, full separation.
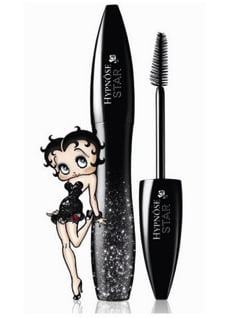
My choice is Lancôme Hypnose Star Mascara (RRP $52)
 4. Colour
Last but not least it’s adding a little colour to the cheek and lip – a must for summer!
I like all in one products and for colour in summer I love when textures are a little creamy so they can be used on different areas of the face, but also really melt into the skin.
The under cheekbone area has shape and lift now from the earlier bronzer application, but the apple of the cheek is left bare and so is the lip area.
My fave colour for summer is peach – it really does suit all skin tones as it compliments and brightens the deep to yellow skin tone and won’t bring out more pink for the pale skin tone.
A dabbing technique, then a massaging motion of a cream or liquid product means the product or shade becomes a stain, like the colour is coming from within the skin, not placed on top – perfect for a natural summer tint!
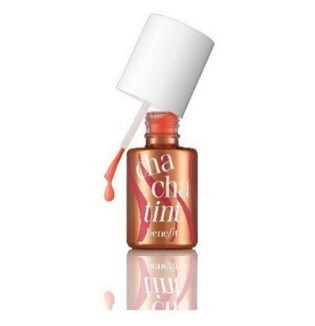
My choice for cheek and lips is Benefit Cha Cha Tint (RRP $55) The perfect sheer lip and cheek stain!
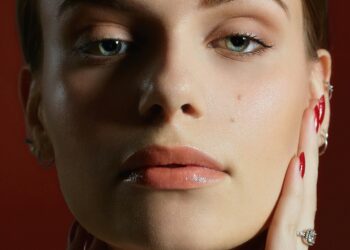
End result… Bronzed, fresh, light and summer chic! Happy Australia Day weekend!
Image credits: Heraldsun.com.au, getkooky.com.au, Instagram, Loveable
