
We are all looking for that quick fix in beauty; something that will give youth, easy to apply and great for the time poor – all of us!
Makeup, if you understand the shade and textures you are using, can really alter or upgrade your facial features when applied correctly. They don’t call us Makeup ARTISTS for nothing right?
 Image via pinterest
Knowledge of how to use colour, plus highlight and shade is key to put your best face forward and it’s easy, so many women are still applying the incorrect shade tones on areas that do not need it, giving a different result they are after.
KNOW. YOUR. TONES.
Here are 5 top tips to shave years off your look – all contribute to this goal when wearing alone. Add them together and BOOM, you are there
1. Double Conceal
One concealer just doesn’t cut it anymore, we all want bright under eyes!
We look to celebrities for that super fresh under eye area, so using two shades of concealer can give you that instant lift, even without any other makeup applied – after all, we show so much age around the eye area.
Start by applying a deeper shade concealer, one that is of a yellow to orange base. This will eliminate the blue/purple shade of a dark circle.
Now to brighten the area! Over the top, place a lighter shade concealer on the dark circle area, once corrected the area can then be highlighted to give a bright and fresh finish – a very celebrity result.
MB PRO TIP: Try to avoid placing concealer on areas that simply don’t need it, like the outer area of the eye. This is where we have expression lines and if placed on this area, it can move and then crease. Only cover what is needed to avoid build up later in the day.
2. Creating Shape
We all need a bit of a lift from time to time and when it comes to our face, there are key areas that need it more than others. One part of contouring is adding shade – using a matte, deeper tone than your skin, often a bronzer type shade.
This can lift, sculpt and re-structure your facial features, doing this gives a stencil for where colour or light should then be placed.Think of adding shade like an eraser: anything you don’t want to see, adding shade on this area will reduce it. Bye bye puffiness, hello defined features!
Anywhere there is a hollow is a great place to add shade. Think, eye socket – say goodbye to puffiness under cheekbones, hello lifted cheeks and a slimmer facial structure.
Also great for under the jawline, the temples and the sides of the nose, all receding these areas to give stronger definition. The deeper the shade and more matte it is, the higher the results. Try one side of the face with shade and the other without; you’ll be surprised of the lifted results on one side.
MB PRO TIP: Celebrities using shade are often photographed with correct lighting. Make sure your shade is no more than x2 shades deeper than your skin tone to avoid a muddy, incorrect colour look to your face.
3. Adding Light
Light is everything to a creating a fresh look. The contrasting partner to shade for best results, or even adding it alone. Either way, there is so many anti-ageing benefits from adding light.
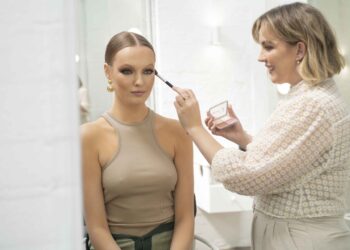
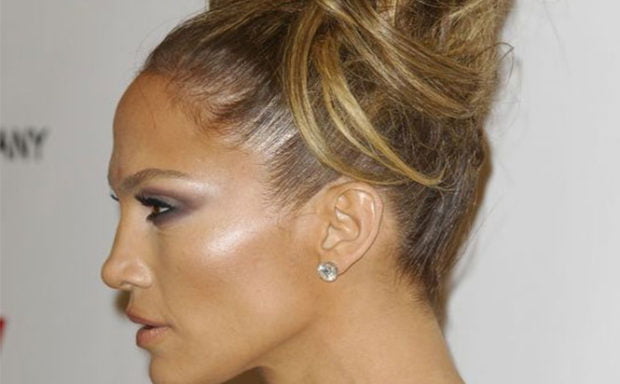 Image via pinterest
Adding light to the face means it can bring forward an area and make it appear larger. In saying that, adding too much or especially adding light to, say, a puffy area of the face can do the total opposite of what we are trying to achieve.
Opposite to shade, light is placed on the frontal bones of the face, whereas shade is placed in hollows. The orbital, brow and the top of the cheekbones are the perfect place to add light, plus the cupids bow and depending on your nose shape, the central area and in between the two brows – all creating light to freshen a sometimes ruddy or uneven area of skin.
I like to use a liquid style highlighter, over foundation or even a lighter than skin shade concealer. This will be great alone as it will give a clearer look to skin, but also perfect when placing next to shade placed in hollows – the true way to contour.
MB PRO TIP: Always correct and then highlight, especially under the eyes for best results. Light used in a powder form does work if metallic in finish.
4. Pop of Colour
Colour doesn’t have to be scary or take over your look. When using colour correctly, especially when they are shades that suit your general tones, it can really lift a sometimes dull, fatigued complexion. The bold lip has been so popular for many seasons because it instantly lifts the entire face, even if you are wearing little to no makeup elsewhere! Pops of red, orange and pink can be a godsend for anyone feeling a little flat.
I love keeping the eyes fairly neutral -chocolate, caramel, bronze, greys and a little navy and khaki can be great. Occasionally it can be nice to add a shade on the mobile eyelid, one that contrasts your eye colour, but I love adding pops of colour on the lip and cheeks for a great colour lift!
Fair skin usually have a lot of pink present in their skin, if this is you, avoid pink lipsticks and blush – try to go a summery warm tone instead.
Olive skin usually can be a tad dull because of the yellow tone showing through the skin, avoid brown and orange base shades and go brighter to give life to a flat complexion.
MB PRO TIP: Once you apply your bold lip, this can be the look of the day, but obviously can look more striking with the above steps added in to your finished makeup look. Add a similar shade, or the excess lipstick from your fingertip on the apple of the cheeks, this will pump the area, looking very fresh and healthy.
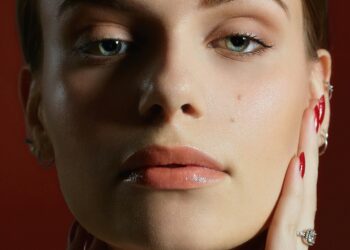
5. Eyeline Define
When wearing any type of eyeliner, eye shadow or even mascara as we age, we should always be trying to lift the outer area of the eye. As we age the outer eye and socket cab get puffy, pushing the outer eye down and giving a droopy or lower outer eye area than we want.
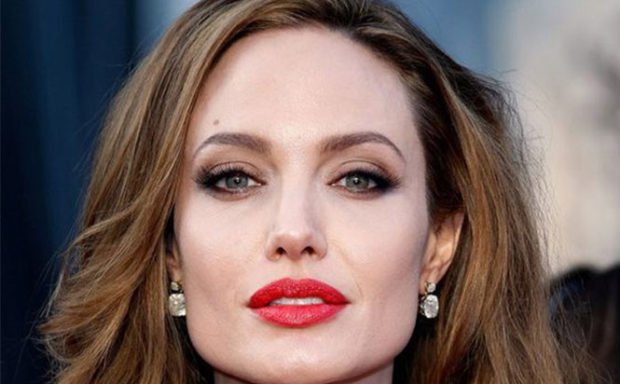 Image via pinterest
Makeup can fix this, even if you don’t want to wear a lot of eye makeup. By placing an eye pencil from the edge of your nostril, diagonally upwards to the outer corner of your eye. This shows the line you do not want to cross when applying any eyeliner or shadow.
If your makeup is fairly natural, yet you want to achieve a lift, add a soft eye pencil to the upper lash line in any depth shade you feel fits your look. Then using a brush, smudge the line up into the eye area, but concentrating on elongating the outer area, adding a slight wing within your outer line using the liner smudge technique.
This can be applied with a dark shadow also and when adding mascara, apply more to the outer lashes to create more outer lift.
MB PRO TIP: If you are only going to re-create this outer wing lift and wear no eye shadow as such, add a little bronzer in the socket for some contour – this will open the eyes further, adding to this great lift!
Try one of these tips alone for a more youthful daily look, or combine them together to form the dream team and shave years off your face.
Follow Michael Brown: Website | Facebook | Twitter | Instagram


